
Create a template from a blank page
Build the product sale card from an empty page and save it ready to be filled with data.
You will build a 1080 × 1080 sale card with a Product Image, a Title, a Price, a Was Price and a Badge, and save it so a spreadsheet can fill it.
What you need
- Permission to create templates in the workspace. See Members and roles.
- One product photo as a PNG, JPEG or WebP file up to 5 MB.
- About fifteen minutes. Saving a template does not use credits.
Steps
Open the designer
Go to Templates → My Templates and choose New template. The designer opens with one page, Page 1, a white 1080 × 1080 artboard. That is the size you want, so leave it.
Select the pencil beside the template name, called Edit template, and enter a Name such as Product sale card. Choose Done.
Place the product image
Press I to choose the image tool. In the picker, upload your photo with Upload image or drag & drop. The photo lands in the middle of the page, at up to half its width and height.
In the Design panel, set Position to X 90, Y 120 and Size to W 900, H 600. If the aspect ratio is locked, unlock it first. Leave the image Fit as Cover, so the picture fills the frame whatever its shape.
Add the title
Press T, click below the image and type Everyday Tee. Press Esc to stop typing.
In the Text section set the Aa size to 64 and the Style to a bold face. Set Box to Wrap so a long title grows downwards instead of sideways. Then set Position to X 90, Y 750 and the Size width to 900.
Add the prices
Add two more text layers the same way. Type ₹799 for the price, at size 80 in a bold style, around X 90, Y 850. Type ₹1299 for the old price, at size 40, to the right of the price.
With the old price selected, turn on Strikethrough in the Text section and give it a grey colour in Fill.
Add the badge
Add one more text layer: New season, at size 32 in a bold style, at X 90, Y 50. Give it your accent colour in Fill.
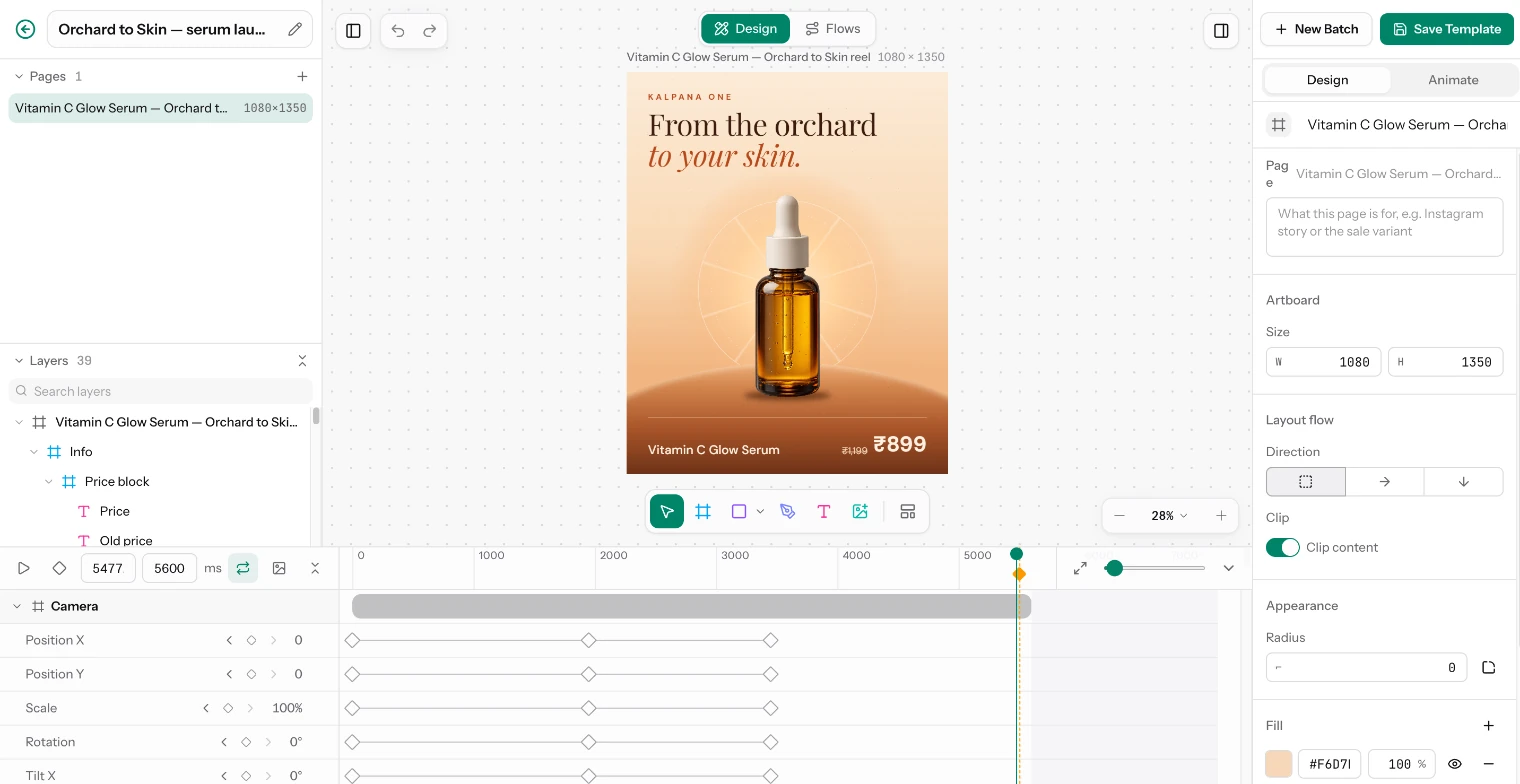
The badge is plain text for now. Build a layout that survives long copy turns it into a pill that grows with its words.
Name every layer
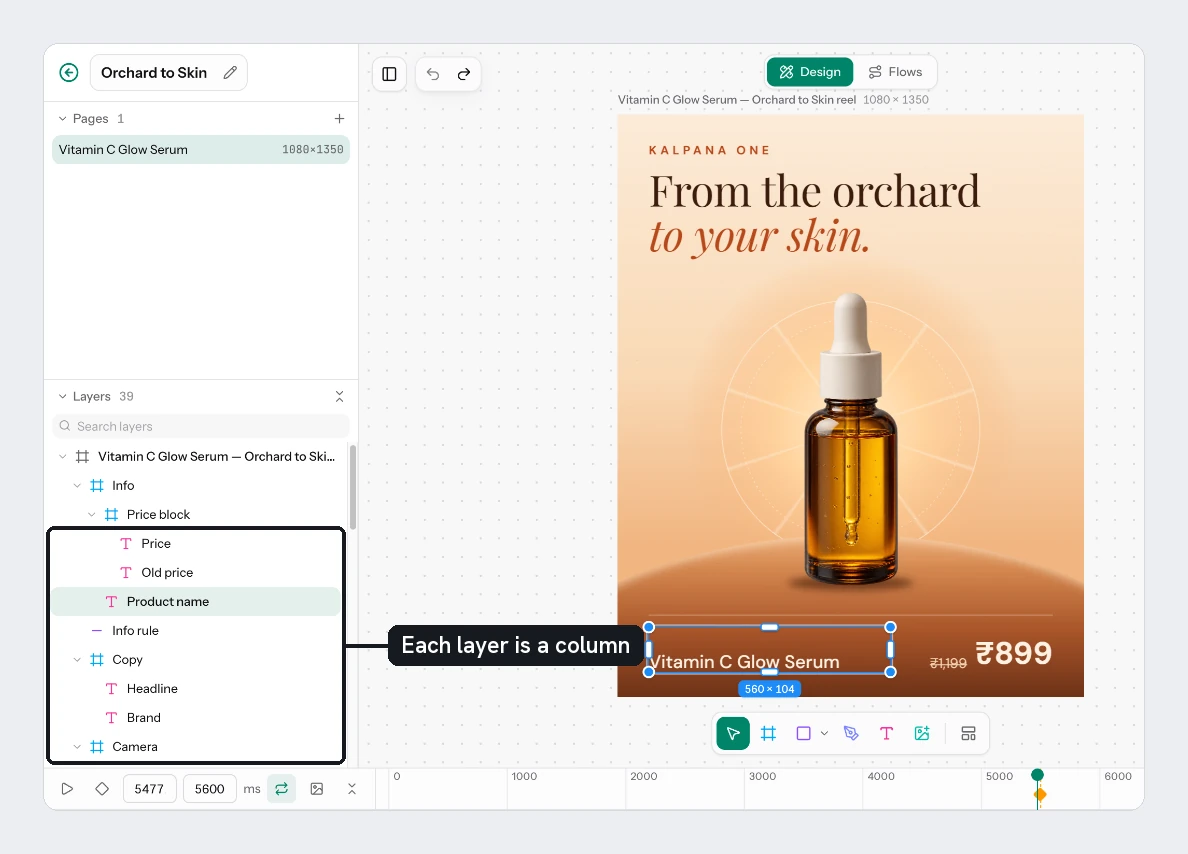
A text layer is named after its words, such as Everyday Tee, and the photo is called Image 1. A layer's name becomes its column name in your sheet, so rename each one. Double-click a row in the Layers panel, type the name and press Enter:
| Layer | Name |
|---|---|
| The photo | Product Image |
| The headline | Title |
| The big price | Price |
| The struck-through price | Was Price |
| The badge | Badge |
Save the template
Choose Save Template or press Cmd/Ctrl+S. The toast says Template saved. The button stays disabled until the page has a layer.
Check the result
Choose the back arrow, open the template from My Templates, and look at the Variables list. It should list five variables: Product Image, Title, Price, Was Price and Badge. Each one is a column your sheet can fill.
To see it with data, choose New batch and add the sample sheet. The sheet has no image column, so every row shows your photo until you pick another in the batch builder. The live preview does not use credits. Rendering does, when you choose Run.
The commonest mistake is saving with the default names. A sheet column called Title then fills nothing, because the layer is still named after its words, Everyday Tee.
Type the real sample text in each layer. A row that leaves a cell empty keeps the template's own text, so it becomes the fallback.
Next
Updated 4 Nov 2026