
Make a gallery template yours
Copy a ready-made template, change its fonts, colours and logo to match your brand, and save it as your own.
Starting from a gallery design is the quickest route to a finished template. You copy it, change what makes it look like someone else's, and keep your own version.
What you need
- Permission to create templates in the workspace.
- Your brand fonts uploaded to Brand Assets → Fonts, and your logo uploaded to All Images. See Set up your workspace.
Steps
Find a design
Open Templates → Explore. Use Search gallery, or filter by Category, Platform and Ratio. For a sale card, try Ratio 1:1 Square.
Preview it
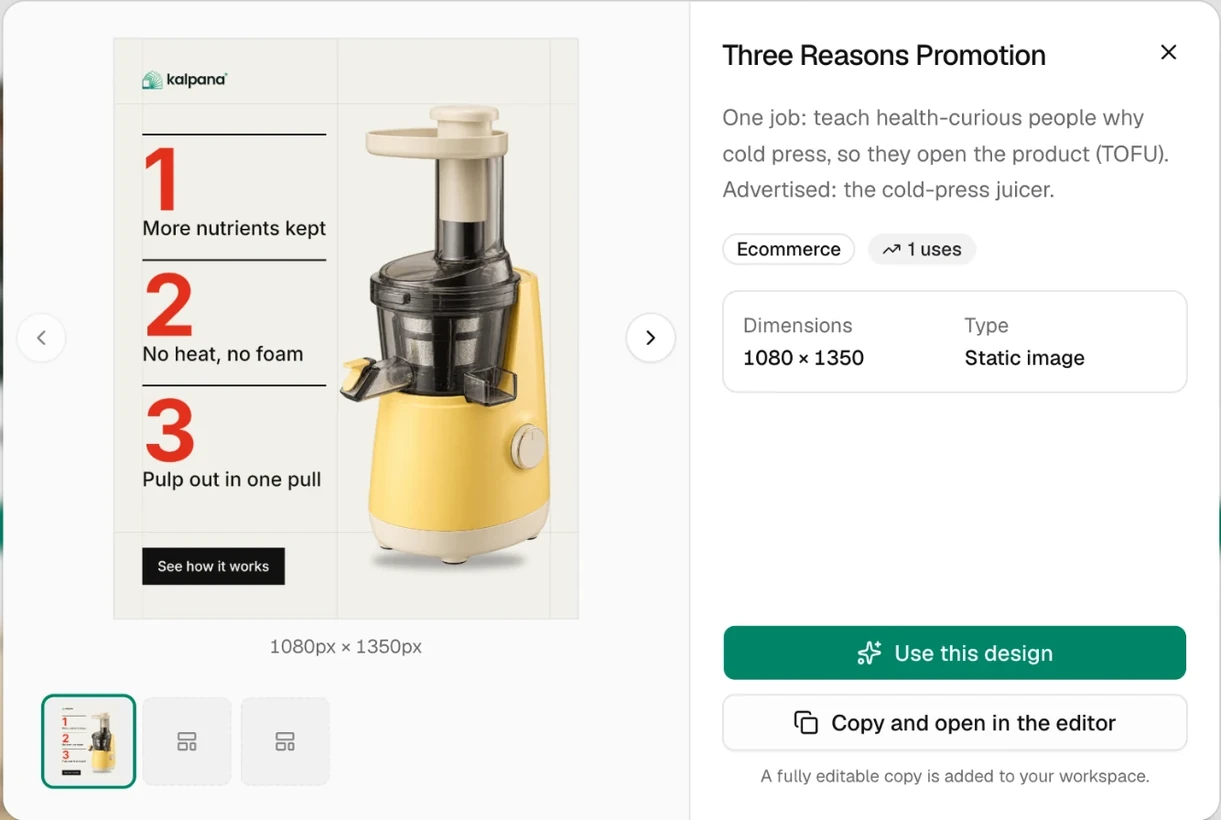
Click a design. The preview shows its dimensions, whether it is a still image or motion, and a strip of page thumbnails if it has several pages. Use the arrow keys to step through the pages.
Copy it and open the designer
Choose Copy and open in the editor. A fully editable copy is added to Templates → My Templates, and the designer opens on it. Nothing you change touches the gallery original.
Use this design, in the preview or under each card in the gallery, copies it too, but goes straight to a new batch. Choose it when you want to fill the design as it is.
Rename the template
Select the pencil beside the template name, called Edit template, and give it your own Name and Description. Choose Done.
Change the fonts
Select a text layer. The strip above the Text section reads how many fonts the design uses, and has a + Font button. Choose it, search for a family in Search fonts and click it. Fonts you uploaded to the workspace are in that search, and the selected text switches to the family you pick. Then choose the weight in Style.
Change the heading and the body copy one at a time, then look at the whole page. A wider font can push a line onto two rows.
Change the colours
Select a layer and open its Fill. Click the swatch and type your colour in the hex field. To recolour the page, click an empty part of the canvas so nothing is selected, then change the Fill of the artboard.
Select several layers with Shift and click to change them together.
Swap the logo
Select the logo image layer. In Fill, click the image thumbnail (Edit image) and choose Replace image. Pick your logo from the library.
If the design shows a product photo, replace it the same way. It only has to look right as a stand-in: your sheet will supply the real photos.
Save
Choose Save Template or press Cmd/Ctrl+S.
Check the result
Open the template from My Templates. Its Variables list should show the text and image layers you expect, and the preview should show your fonts, colours and logo.
The commonest mistake is renaming layers while restyling. A layer's name is its column name in your sheet, so a renamed Headline no longer matches a Headline column. Change names only on purpose. See Choose what changes per row.
If the design uses a font your workspace does not have, the template page shows a missing-font alert with Sync fonts. Upload the font under Brand Assets → Fonts, then choose Sync fonts.
Next
Updated 4 Nov 2026