
Check and fix rows before you run
Preview every row, then fix images, crops, colours, hidden layers and styled text before you spend credits.
Batches are one-shot, so the builder is where you catch the row with a long title or a badly cropped photo. This guide takes you through each check.
What you need
- A batch builder open with your rows loaded. See Fill a template from a spreadsheet.
- Nothing is charged while you check. The live preview is watermarked, and the finished files are not.
Steps
Open a row in the preview
Choose the eye icon at the end of a row (Preview this row). The Live Preview shows that row. Choose Open large preview for a bigger view with Variables and Colours tabs. The large view says which record you are on, such as Record 2 of 5, with Previous record and Next record to step through the sheet.
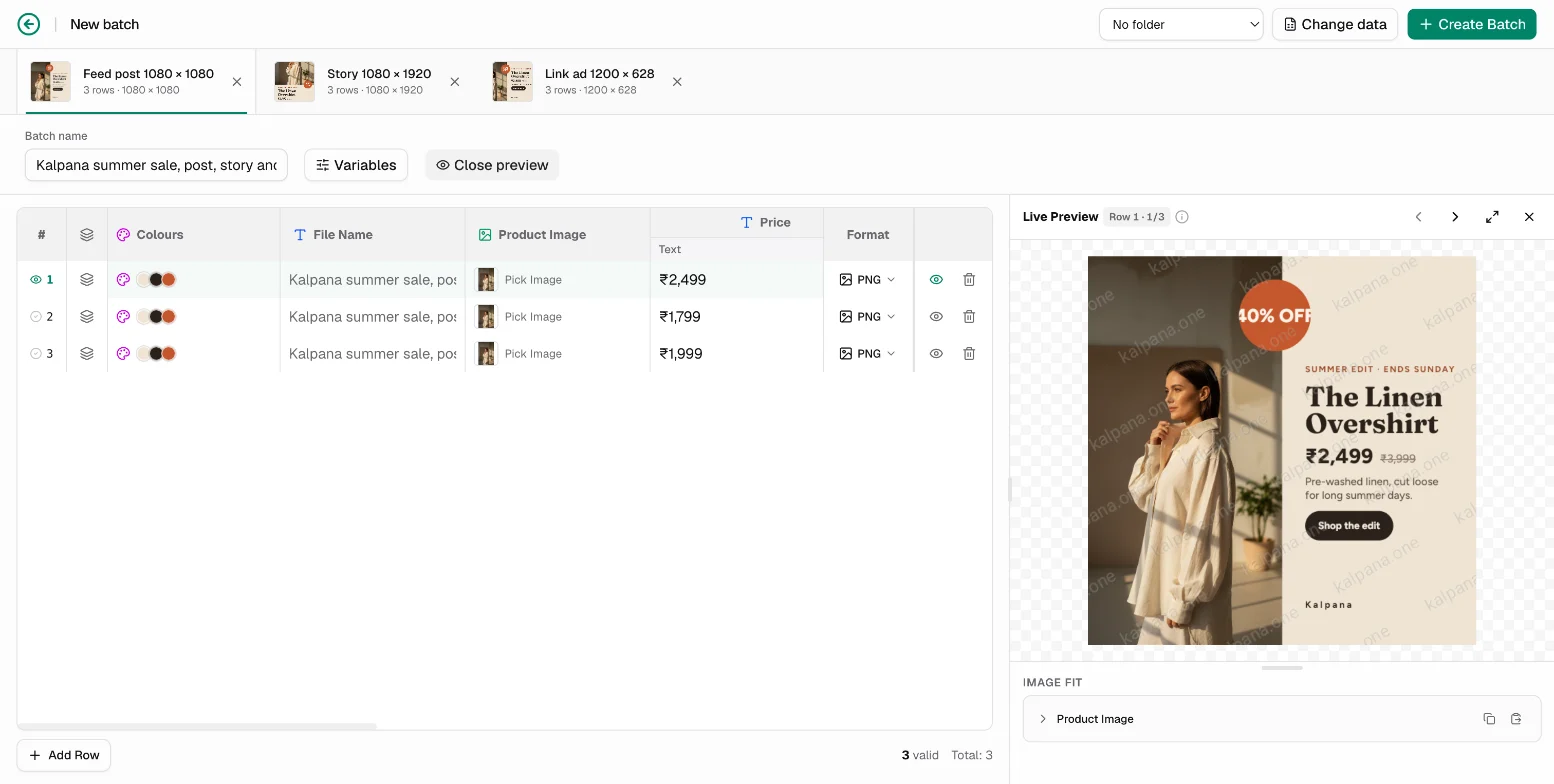
Read the longest and shortest rows
Look at your longest title and your shortest. Kalpana does not shorten or reject text. A box that cannot grow can clip it, and a box that grows can push the layout past the page edge. If the card breaks, fix the template, not the row. See Build a layout that survives long copy.
Fix a missing or wrong image
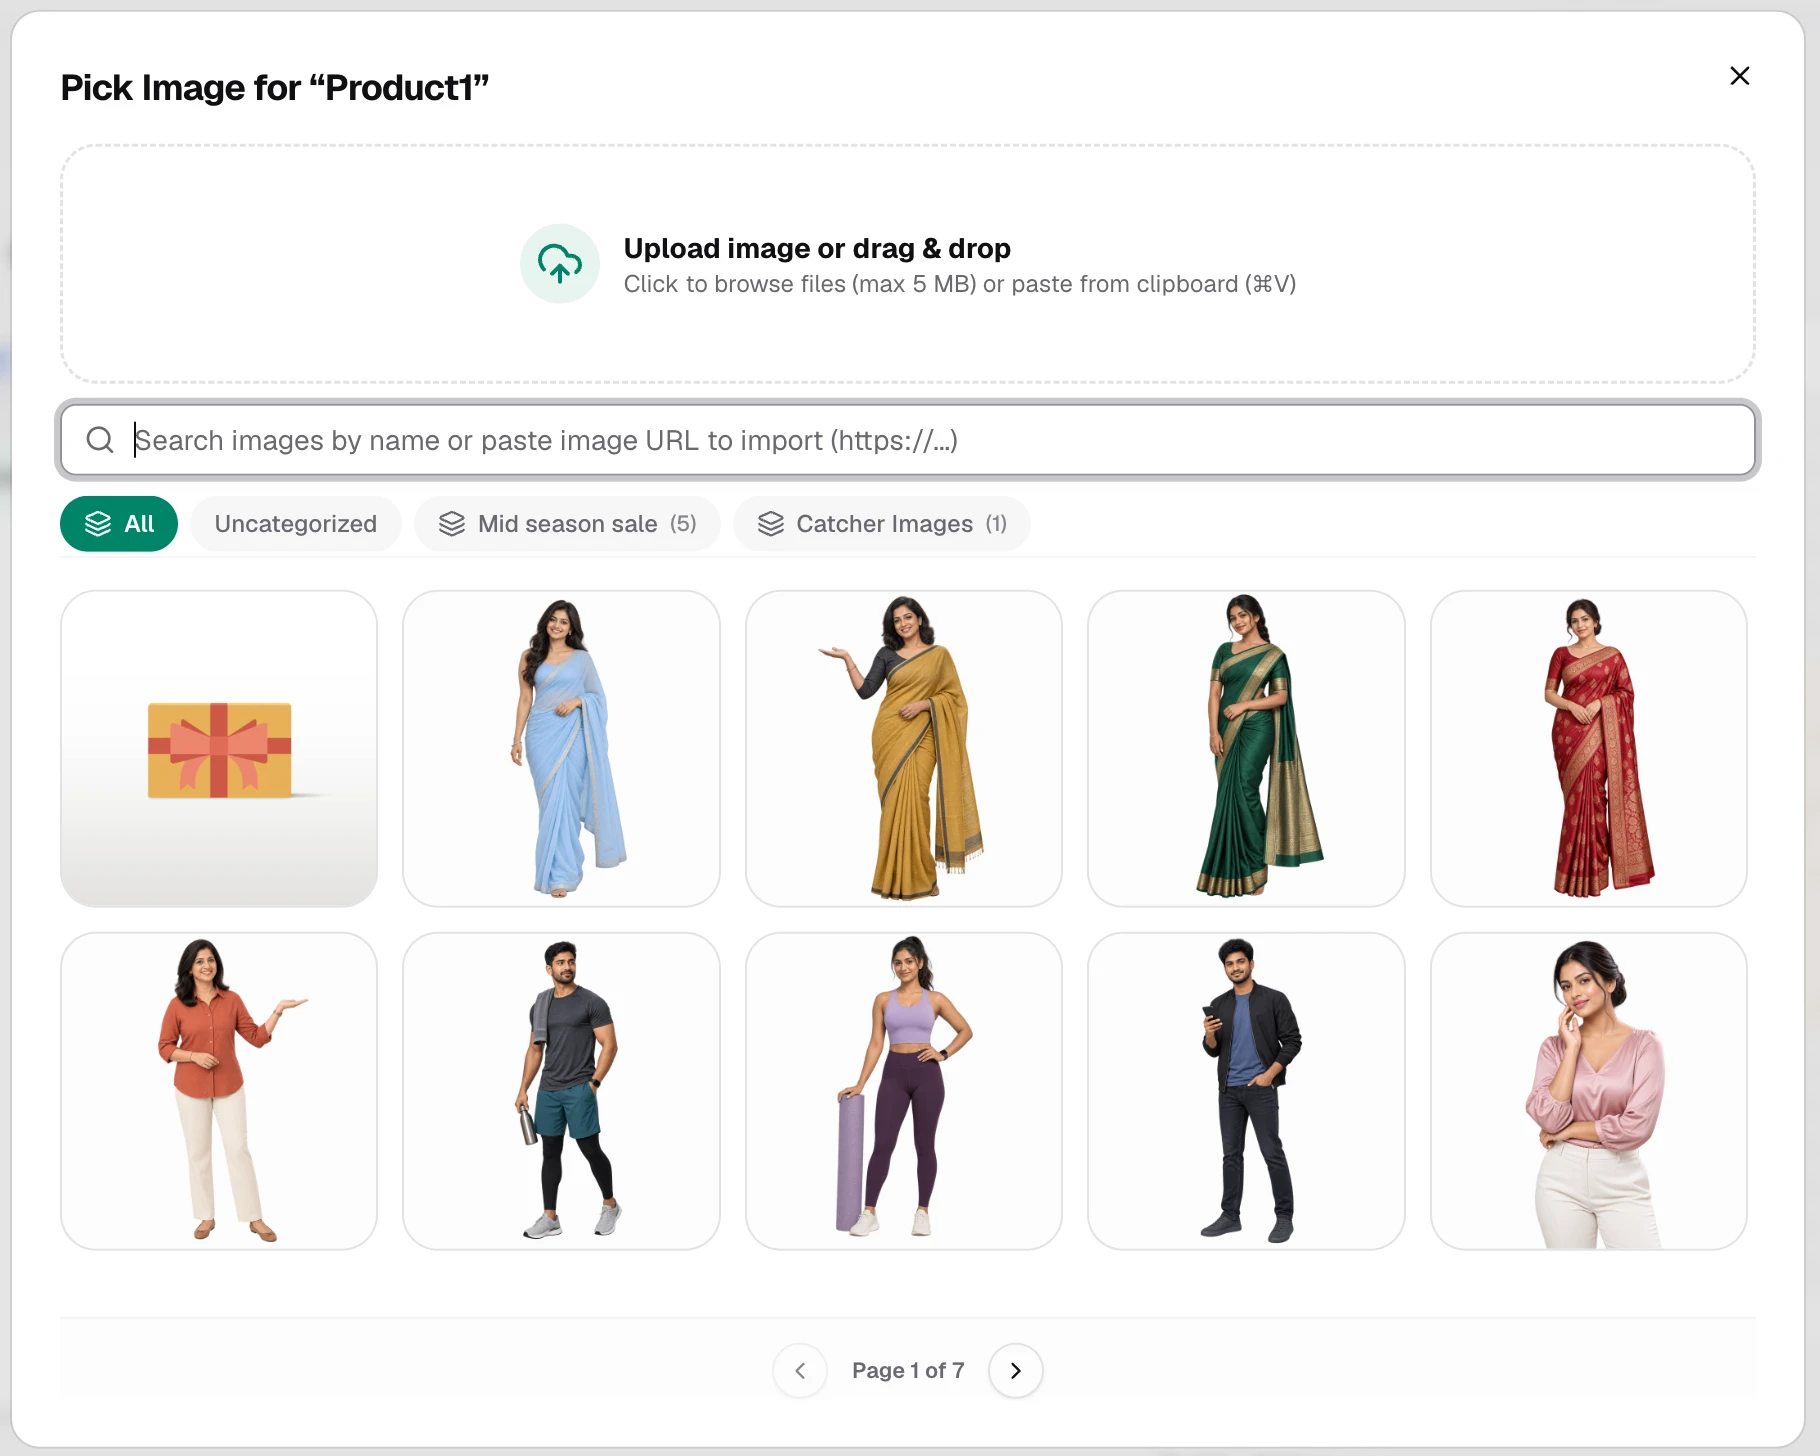
Choose Pick Image in the row's image cell. Search your library by name, filter by collection, paste an https:// link into the search box to import it, or choose Upload image or drag & drop for a file up to 5 MB. Use the x in the cell to clear a pick.
An empty image cell keeps the template's own image.
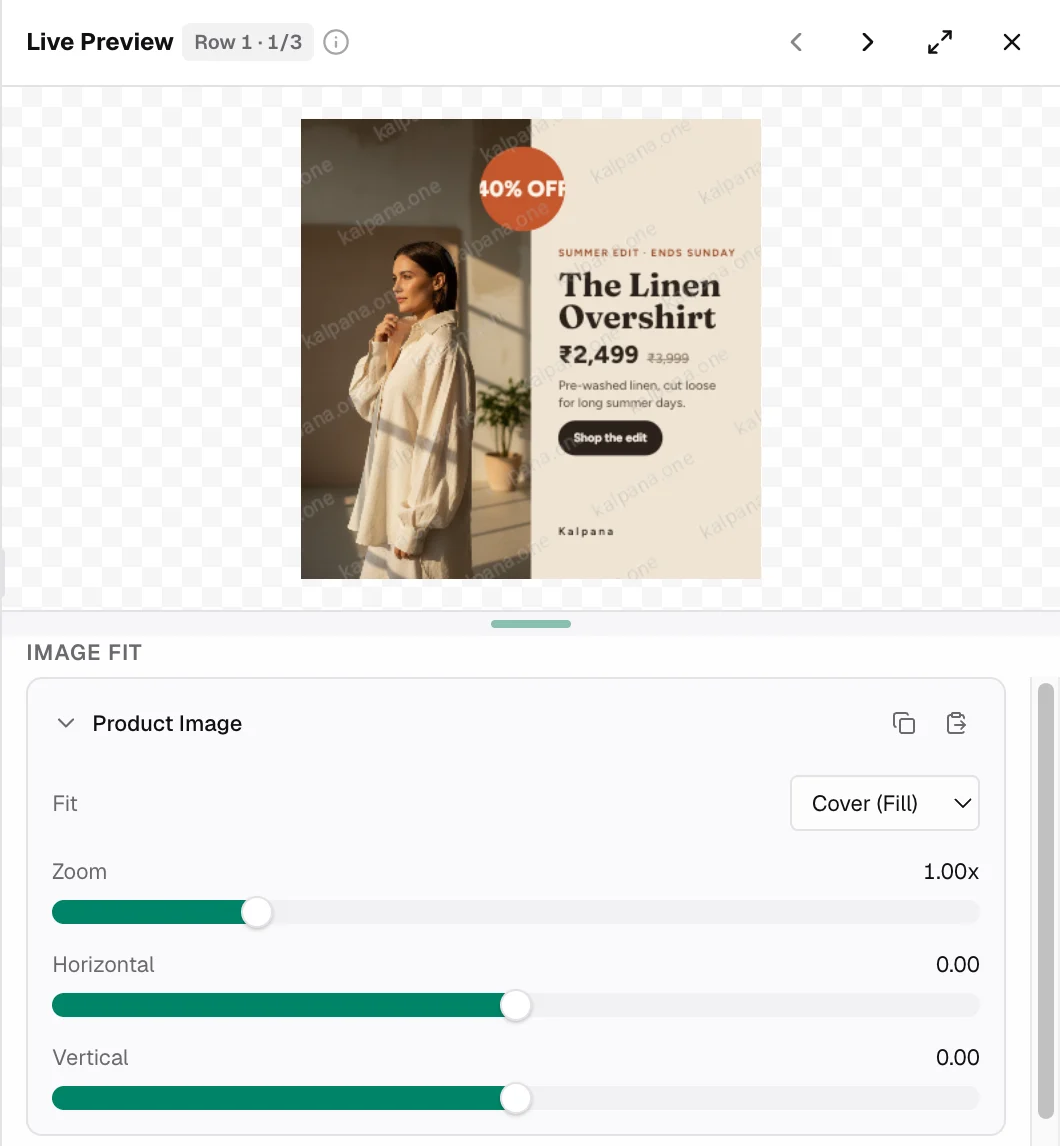
Crop and position the photo
With the preview open, find Image fit under it. For each image variable you can set Fit (Cover (Fill), Fit (Contain) or Stretch), Zoom and Horizontal and Vertical position. The frame never changes size, so a tall tote and a wide sneaker do not move the text around them. Use the copy and paste buttons beside the image name to reuse an adjustment on another row.
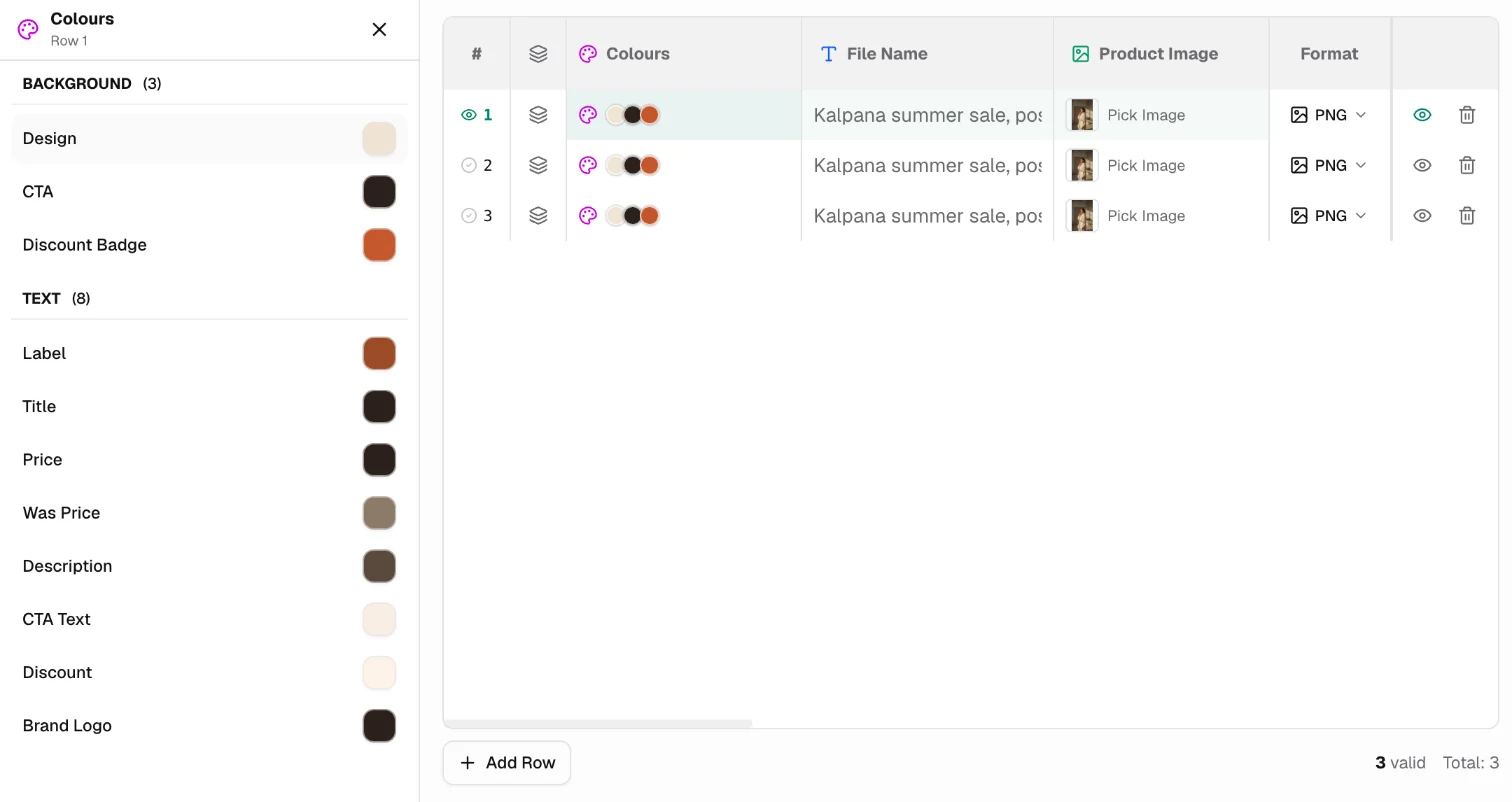
Change colours for one row
Click the Colours cell of a row. The panel has a Background group and a Text group. Pick a solid colour or a gradient for any slot. Reset all to template puts the template's colours back. Changes affect that row only.
Hide a layer for some rows
Choose the layers icon at the start of a row to open Layer Visibility, then switch off the layer. On the sale card, hide Badge and Was Price on a row that has no discount. The template does not change.
To hide a layer wherever its column is blank, turn on Disable layers that are empty on the data step.
Style words in a text cell
If a text layer uses more than one style, click its cell. A popover shows a chip for each style (s1, s2 and so on). Select words and click a chip to apply that style, or pick a chip and keep typing. Press Enter for a line break. From a spreadsheet the cell is plain text, so wrap styled words in tags: <s1>Now </s1><s2>from ₹799</s2>.
Check the result
The grid and the template tab show no errors, and each row looks right in the preview. Rows with errors are flagged, counted in the tab, and skipped when you create the batch.
The commonest mistake is checking only the first row. Look at the longest title and the row with the tallest photo as well.
You cannot select several rows at once in the builder. To change many rows the same way, fix the sheet and use Change data, or fix the template.
Next
- Run a batch and collect the files
- Preview rows for every control
- Row values
Updated 1 Nov 2026