
Set up your workspace
Add your brand fonts and images, then bring in your team and give each person the right role.
A workspace set up once means every template renders in your brand fonts, every image is one click away, and the right people can do the right things.
What you need
- Your brand font files (
.ttf,.otf,.woffor.woff2), one file for each style you use. - Your logo and a few product photos, as PNG, JPEG or WebP files up to 5 MB each.
- The email addresses of the people you want to bring in.
Steps
Upload your brand fonts
Open Brand Assets → Fonts and choose Upload Font. In the Upload Workspace Font dialog:
- Choose the Font File.
- Check the Font Family Name. It must match the name your design uses, for example
Plus Jakarta Sans. - Set Style / Variant, such as Regular or Bold, and the Weight.
- Tick This is an Italic variant if it is one, then choose Upload Font.
Upload regular, bold and italic as separate files. Your uploads are tagged Workspace in the list.
Add your images
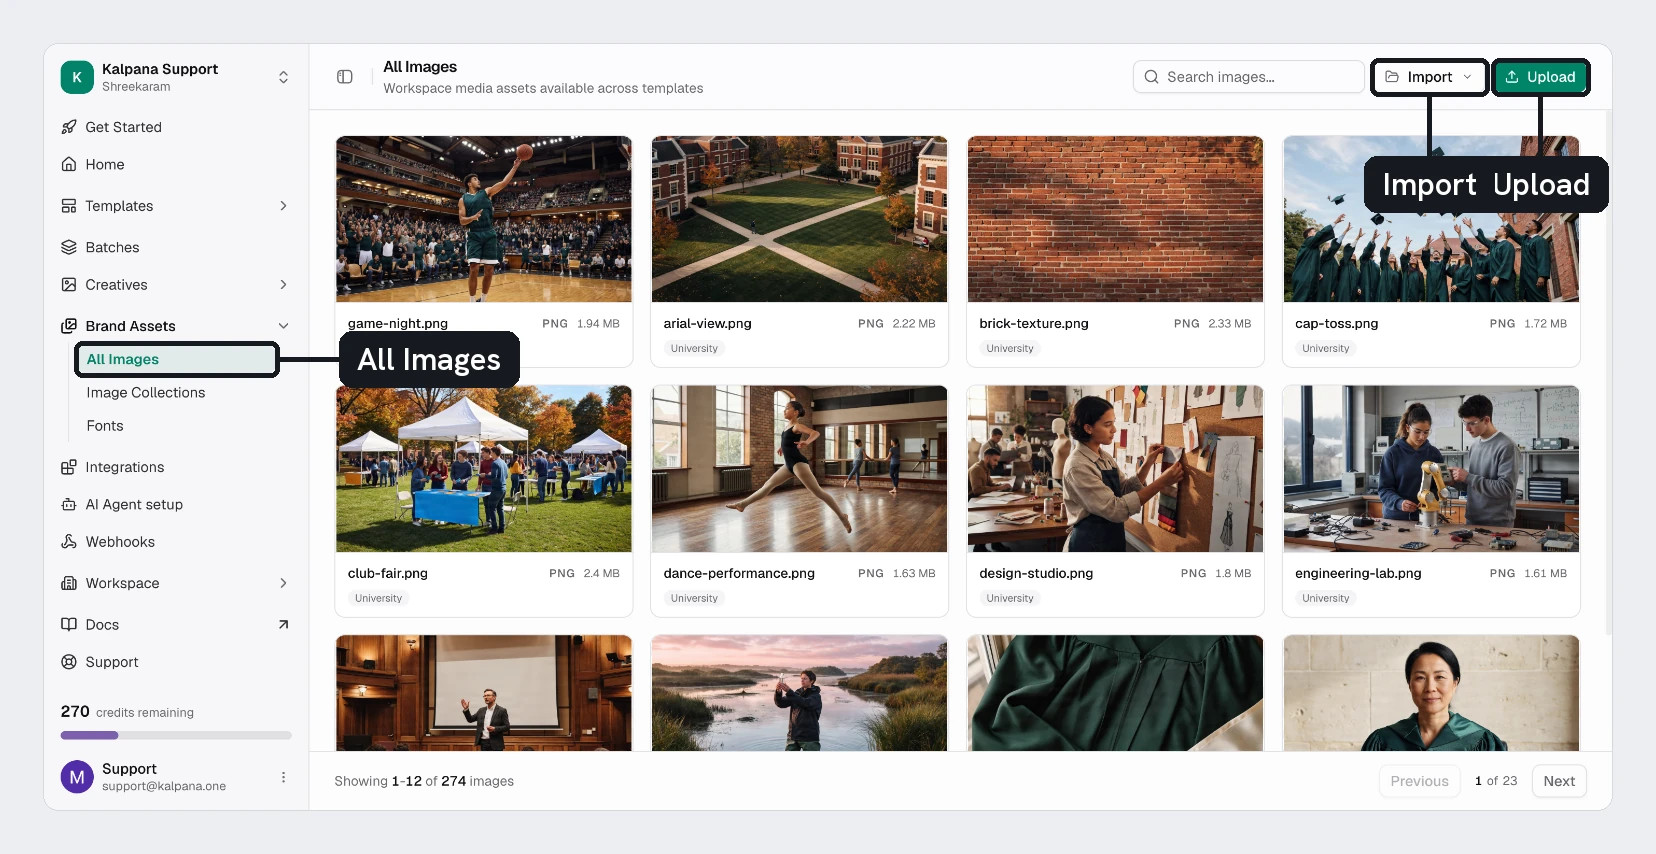
Open Brand Assets → All Images. Drag files onto the page, or choose Upload and pick up to 10 files at a time.
Name each file the way your sheets will refer to it, such as SKU-2101.png. A sheet's image column can then use that name.
Group images into collections
Open Brand Assets → Image Collections and choose New Collection. Add images to it from each image's Manage Collections menu. An image can be in several collections, and deleting a collection keeps its images.
Collections show up as filters whenever you pick an image, so a campaign's photos are quick to find.
Set the name, logo and allowed domains
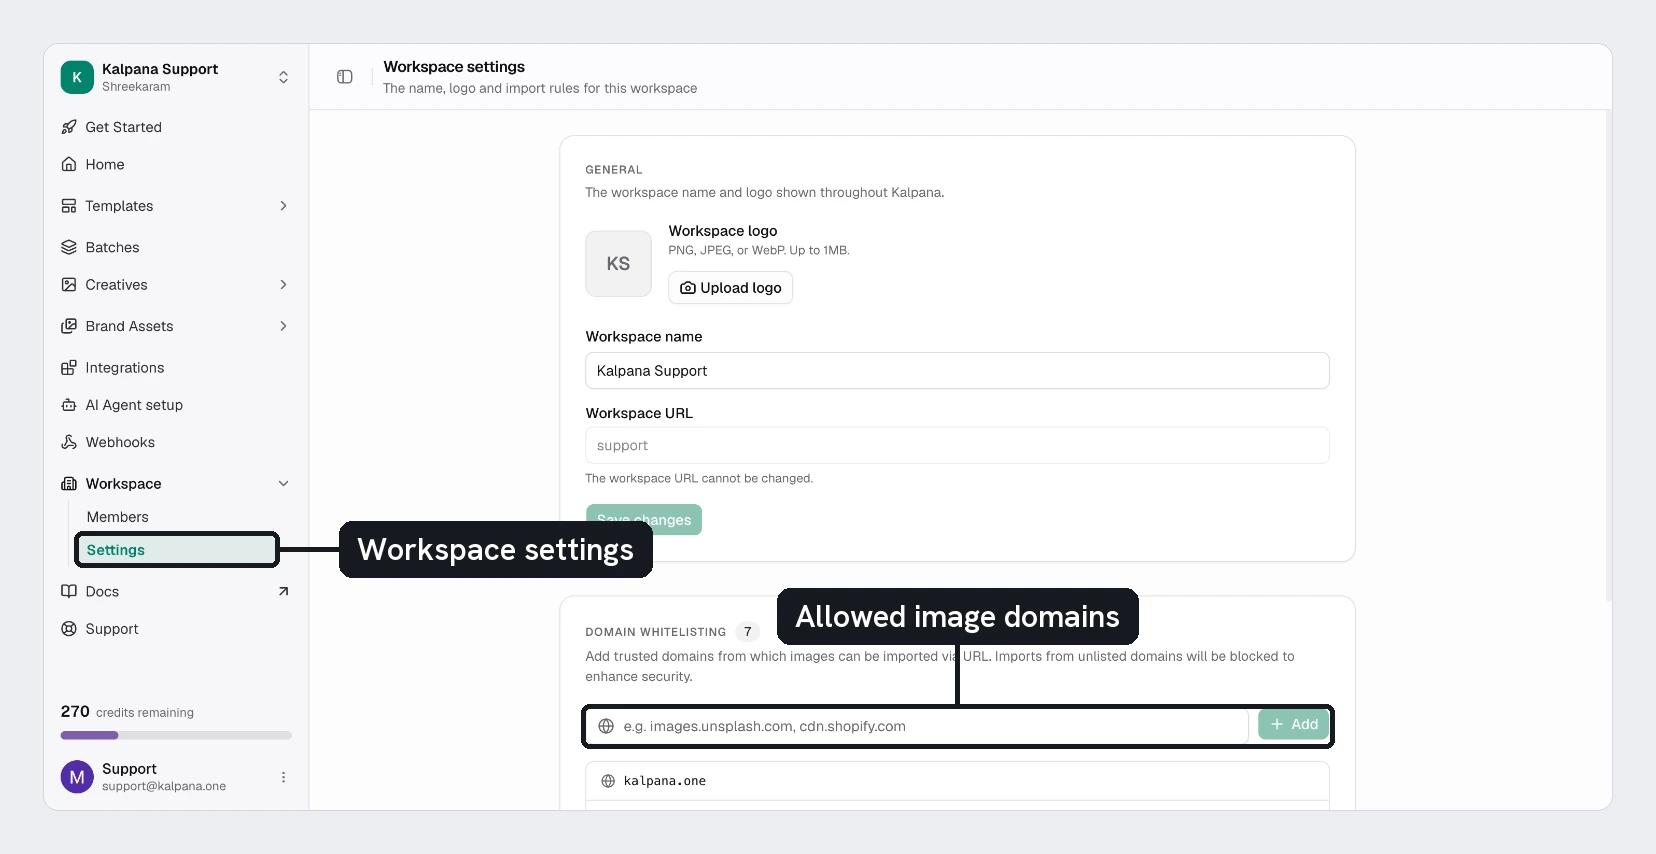
Open Workspace → Settings. Change the Workspace name and upload a Workspace logo.
Under Domain whitelisting, add the domains your image links come from, such as cdn.yourstore.com. Kalpana only fetches images from domains on this list. Only the workspace Owner can change these settings.
Invite people to the organization
People join the organization first. Open the workspace menu at the top of the sidebar and choose Go to organization, then People → Invite member. Enter the email address and pick an organization role.
The person gets an email and chooses Accept invitation. They must use the email address you invited. Invitations expire after 7 days, and Copy link gives you the link if the email does not arrive.
Give each person a workspace role
Newly invited people start as Viewer in every workspace. Open Workspace → Members and change the Role of each person, then choose Save role change at the top. It reads, for example, Save 2 role changes when you changed more than one.
| Role | A good fit for |
|---|---|
| Designer | People who build templates and upload images and fonts |
| Manager | People who run batches and manage creatives |
| Reviewer | People who check results |
| Viewer | People who only need to look |
If someone belongs to the organization but not to this workspace, choose Add member and pick their role. The full table of what each role can do is in Members and roles.
Check the result
- Fonts lists each family with its weights, tagged Workspace.
- All Images shows your files under the names you gave them.
- Members shows each person with the role you chose.
The commonest mistake is uploading only the regular weight. A template that uses a style you did not upload shows a missing-font alert. Upload each style as its own file.
Designers can edit templates but cannot create batches. If a teammate cannot find New Batch, check their role.
Next
Updated 4 Nov 2026