
Add and replace images
Put a photo on the page from your library, an upload or a link, and swap it later.
Use an image layer for anything a row can change, such as a product photo, a logo or a background picture. Every image layer becomes an image variable named after the layer.
Add an image
Open the picker
Press I, or choose Image in the toolbar. The image picker opens.
Choose a picture
In the picker you can:
- Choose a library image. Search by name, or, once you have collections, use the chips All, Uncategorized and your collection names to filter.
- Upload a file with Upload image or drag & drop, or paste one with
Cmd/Ctrl+Vwhile the picker is open and confirm the upload. - Paste an
https://link into the search box and choose Apply URL. The link's domain must be on your workspace's allowed list.
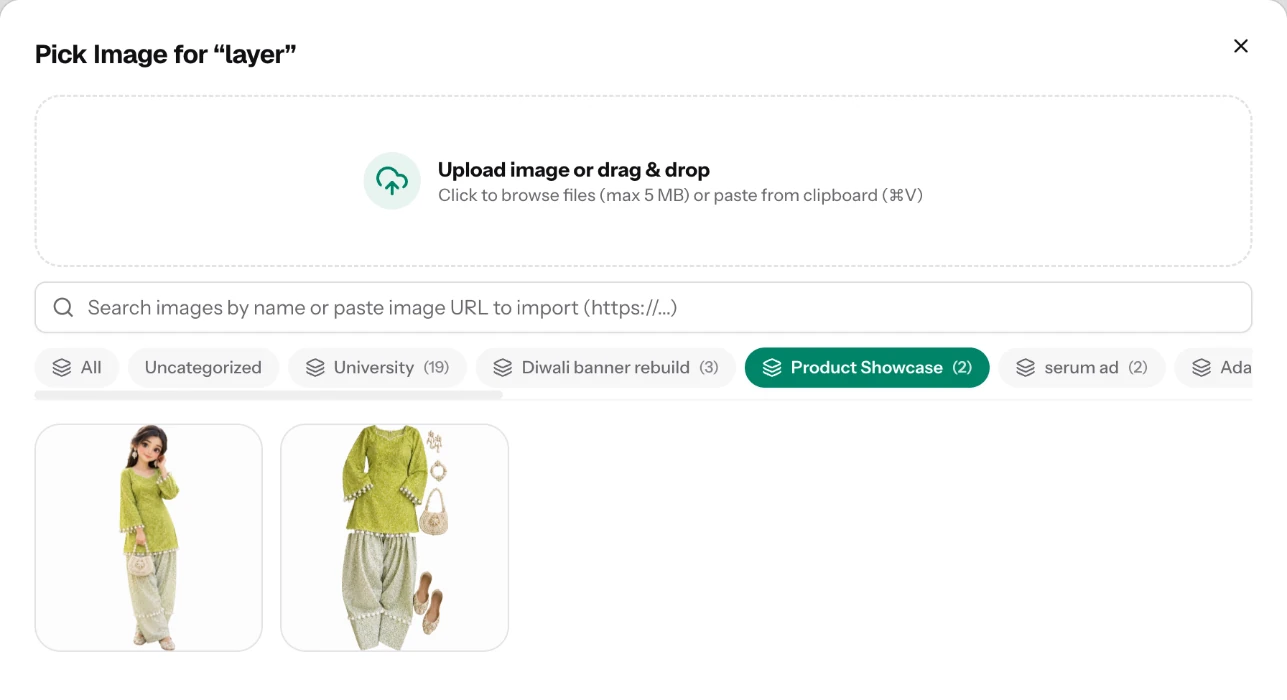
PNG, JPEG and WebP work, up to 5 MB and 5000 x 5000 pixels each. See Images and Collections.
Check where it lands
The image appears in the middle of the page, in a layer named Image. It is never enlarged, and it is at most half the page wide and half the page tall. Its Fit is Cover.
Replace an image
Select the image layer. In the Fill section, click the picture thumbnail (Edit image), then Replace image. The picker opens again. Replacing resets Fit to Cover if you had cropped the old picture.
Any rectangle or frame can hold a picture too. Open its fill, switch the type to Image and click the picture area to choose one. This gives you a photo with rounded corners or a stroke.
The picture you place is the template's own image. A row that gives no image keeps it, and a row with an image replaces it. Pick a typical product photo, not a special one.
Try it
On the sale card:
- Press
Iand choose a product photo. - Rename the layer Product Image.
- In Size, type
720for both W and H, then set X to180and Y to120.
You should see the photo centred in the upper part of the card, with the name Product Image in Layers.
Next
Updated 4 Nov 2026